Fygo

Help Center

  • Getting Started
  • How to Install and Initialize FygoOS?
  • How to Install the App and Connect to Fygo NAS?
  • How to Install FygoOS on a Virtual Machine?
  • Troubleshooting System Installation Issues
  • Storage
  • How to Create a Volume?
  • Do Hard Drives Hibernate Automatically?
  • How to Use SSD Cache Acceleration?
  • Fygo TV
  • How to install Fygo TV and create a library?
  • How to create Fygo TV accounts for family and friends?
  • Cannot select a folder when creating a library?
  • Photos
  • How to Back Up Phone Photos?
  • How to Share Photos with Others?
  • AI Photos Feature Guide
  • How to Import Google Photos into Fygo?
  • Video Plays with Black Screen but Has Sound in Web Photos?
  • Remote Access
  • How to Remotely Access Your Fygo NAS?
  • System Settings
  • How to create a new user?
  • About Bluetooth Network Setup
  • How to Use a Wireless Network Adapter?
  • How to Change FygoOS Ports?
  • How to Use the System Configuration Backup and Restore Feature?
  • Frequent Network Errors in System Settings?
  • How to Enable Two-Factor Authentication (2FA)
  • Unable to Complete Two-Factor Authentication (2FA)?
  • How to Enable Email Notification Service
  • Files
  • How to share My Files with other users?
  • How to share a Team Folder?
  • How do file permissions work and how can I configure them?
  • How to create an external share link for a file?
  • File Services
  • Notes on Mounting Fygo NAS via WebDAV on Windows
  • Notes on Mounting Fygo NAS via NFS on Windows
  • SMB 3 Multichannel Requirements
  • Media File Formats Supported by DLNA
  • Virtual Machine
  • How to Install and Use Virtual Machine?
  • How to Use Virtual Machine Hardware Passthrough?
  • Fygo Sync
  • Fygo Sync Feature Guide
  • How to Use On-Demand Sync
  • Frequently Asked Questions
  • Backup
  • Encrypted Backup Overview
  • iSCSI
  • iSCSI Glossary
  • iSCSI Basic Features
  • User Group Configuration
  • CHAP Configuration
  • Frequently Asked Questions
  • Fygo Seek
  • What File Formats Can Fygo Seek Preview?
  • How to Grant Fygo Seek Access to a Folder
  • How to Manage Fygo Seek Project Access
  • How to Import Eagle Assets into Fygo Seek
  • How to Export Comments to Editing Software
  • How to Share Assets for Client Review
  • How to Manage Asset Versions
  • How to Use AI Search in Fygo Seek
  • How to Customize Brand Display
  • How to Use a Custom Domain for Fygo Seek
  • How to Add Asset Watermarks
  • Fygo Seek License and Plan FAQ
  • Security
  • How to Set Up and Use the Access Code?
  • security-report-principles-testing-rules
  • Security Vulnerability Report Handling Rules
  • Security Vulnerability Report Template
  • Security Advisories
  • License
  • Fygo License overview and activation guide
  • Fygo License FAQ
  • More
  • Contact Us
  • What is the difference between a local account and a Fygo Account?
  • What is the difference between administrator and standard user permissions?
  • Fygo Beta Disclaimer
  • Rockchip Series eMMC USB Flashing Tutorial
  • Rockchip Series TF Card Flashing Tutorial
  • Boot FygoOS from NVMe on Rockchip Devices - Flash U-Boot to SPI
  • Public source code
  • How to Manage Fygo Seek Project Access

    Fygo Seek lets you make a project public or grant access to specific members. A public project is accessible to all users; a restricted project is visible only to its members and administrators.

    Admins appear in every project and can access all projects. Other users see only public projects and projects they belong to in their project list.

    Seek currently distinguishes Admins from Project Members. More granular roles and permissions are planned.

    How to Make a Project Public

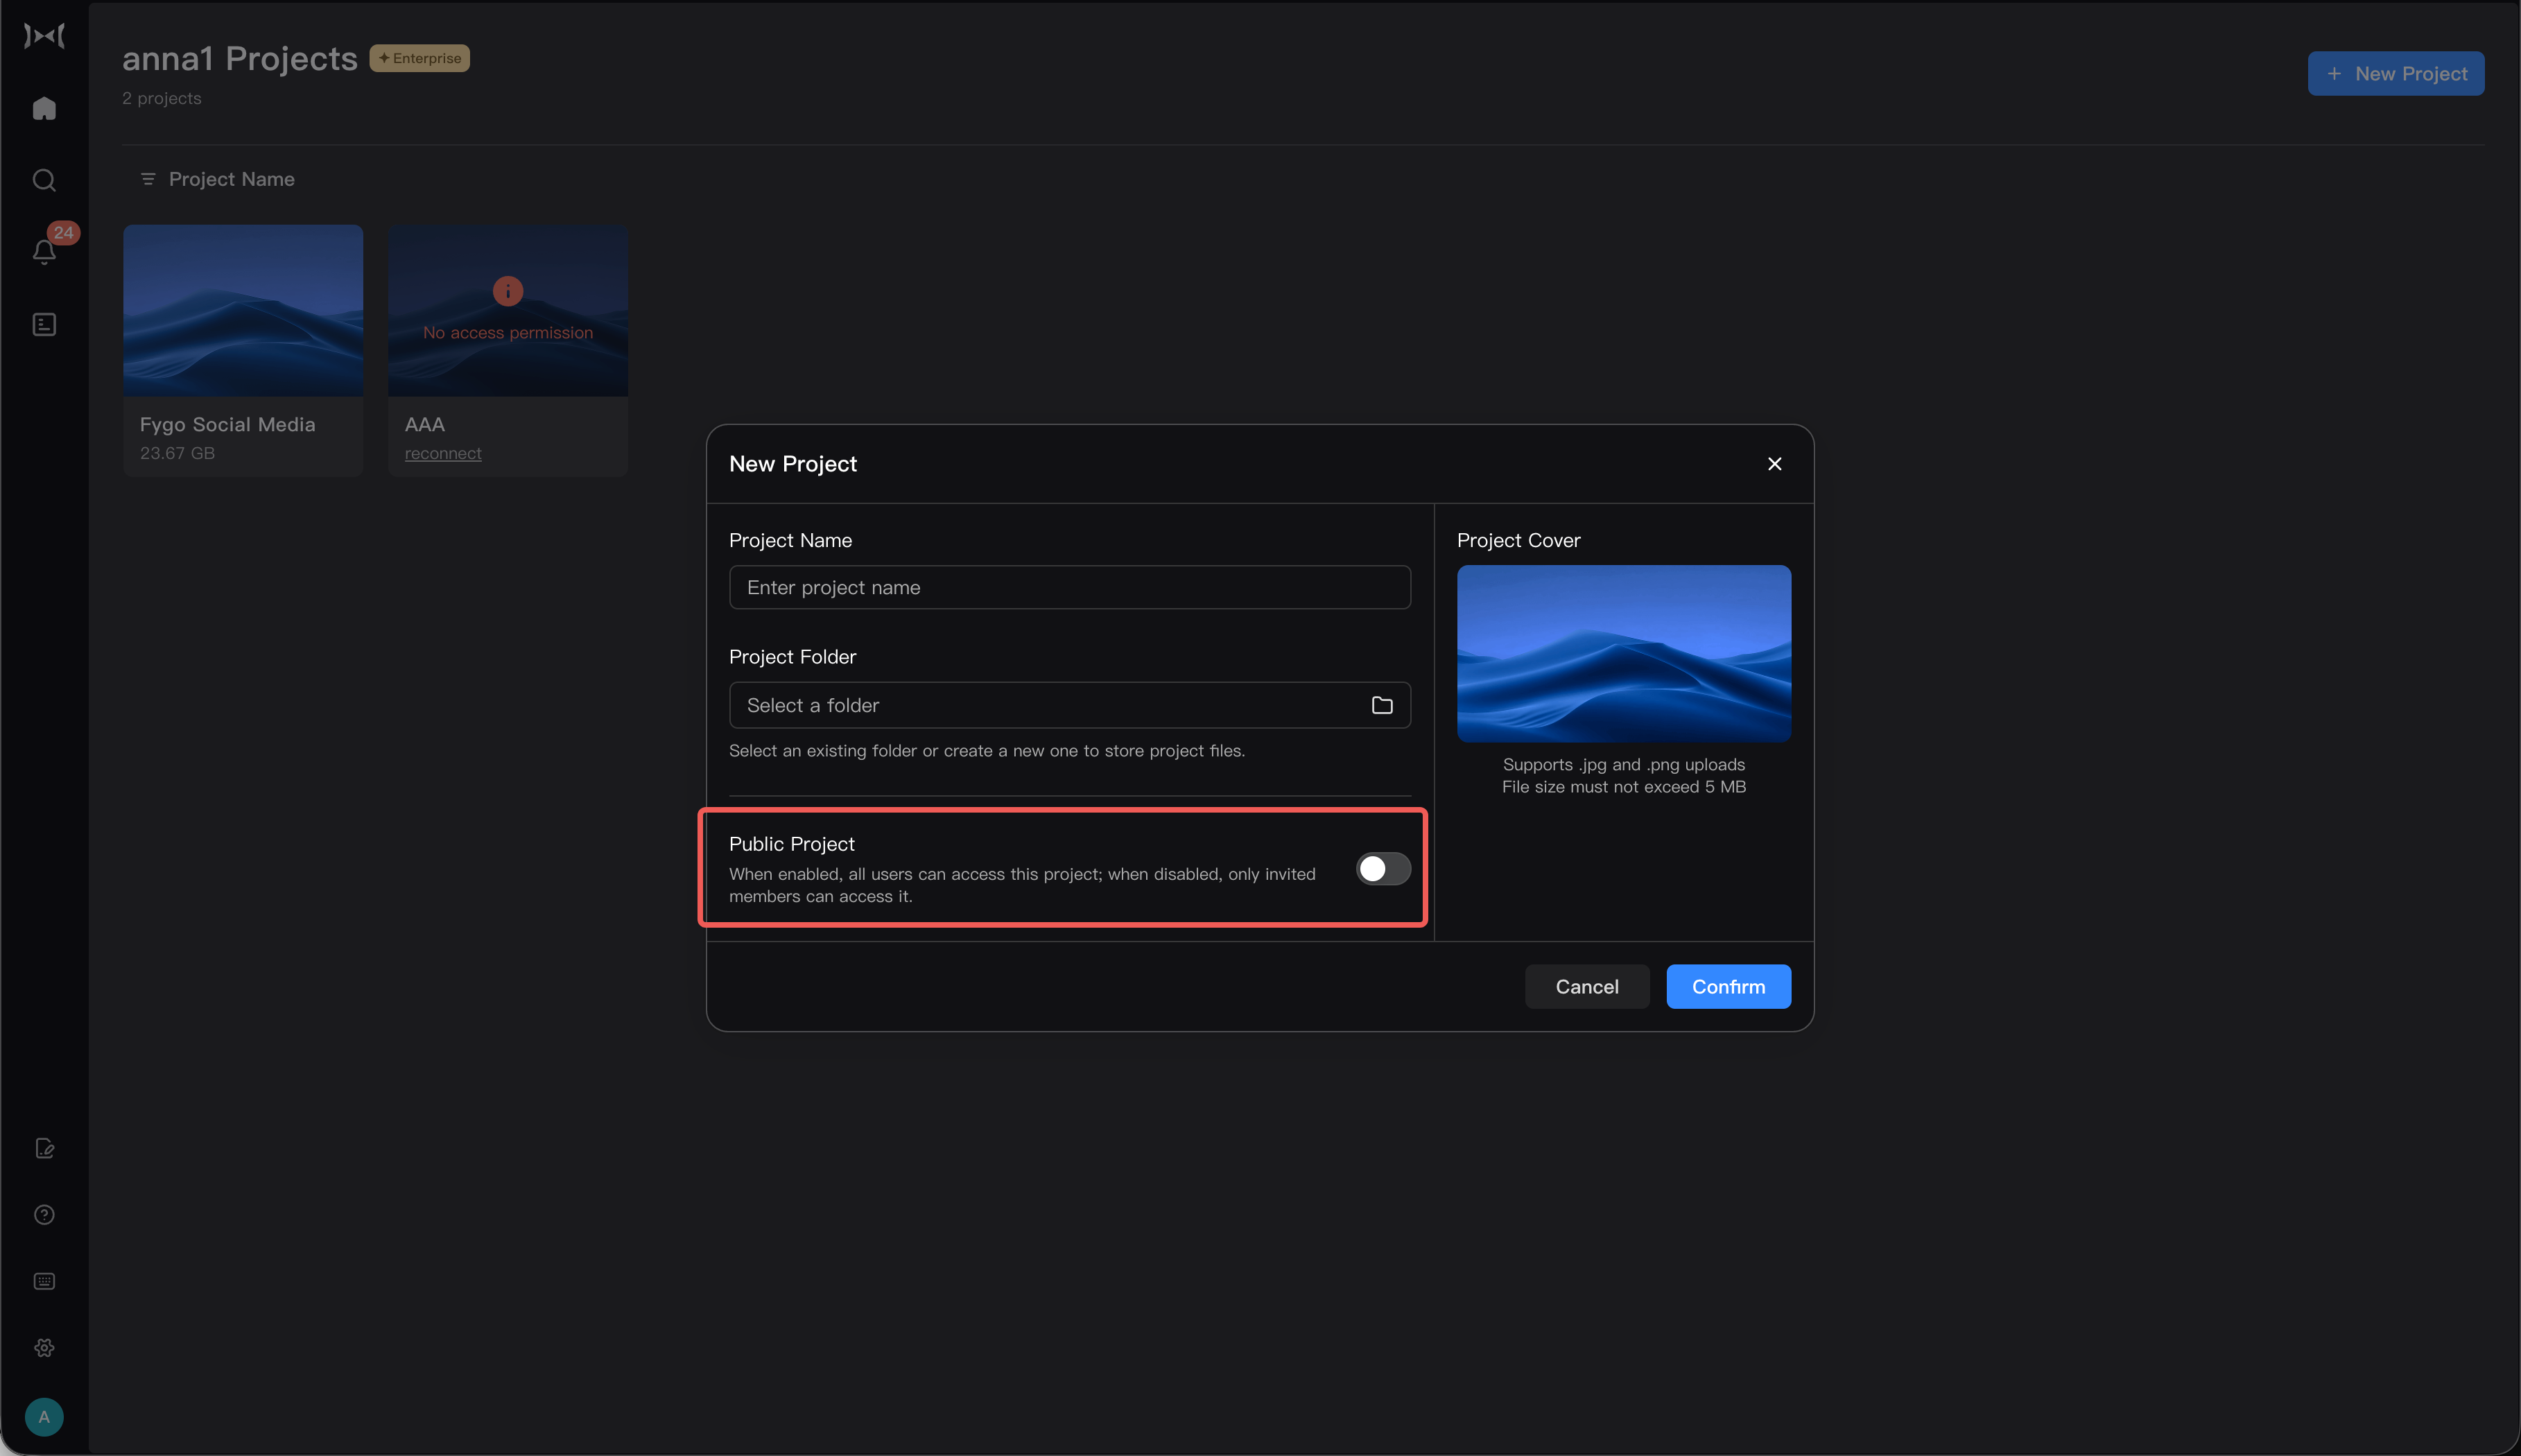
    You can make a project public during creation or later in its settings. Public projects are available to all users and appear in their project lists.

    During Project Creation

    1. In Fygo Seek, select New Project.
    2. Enter the project details.
    3. Set the project to Public.
    4. Create the project.

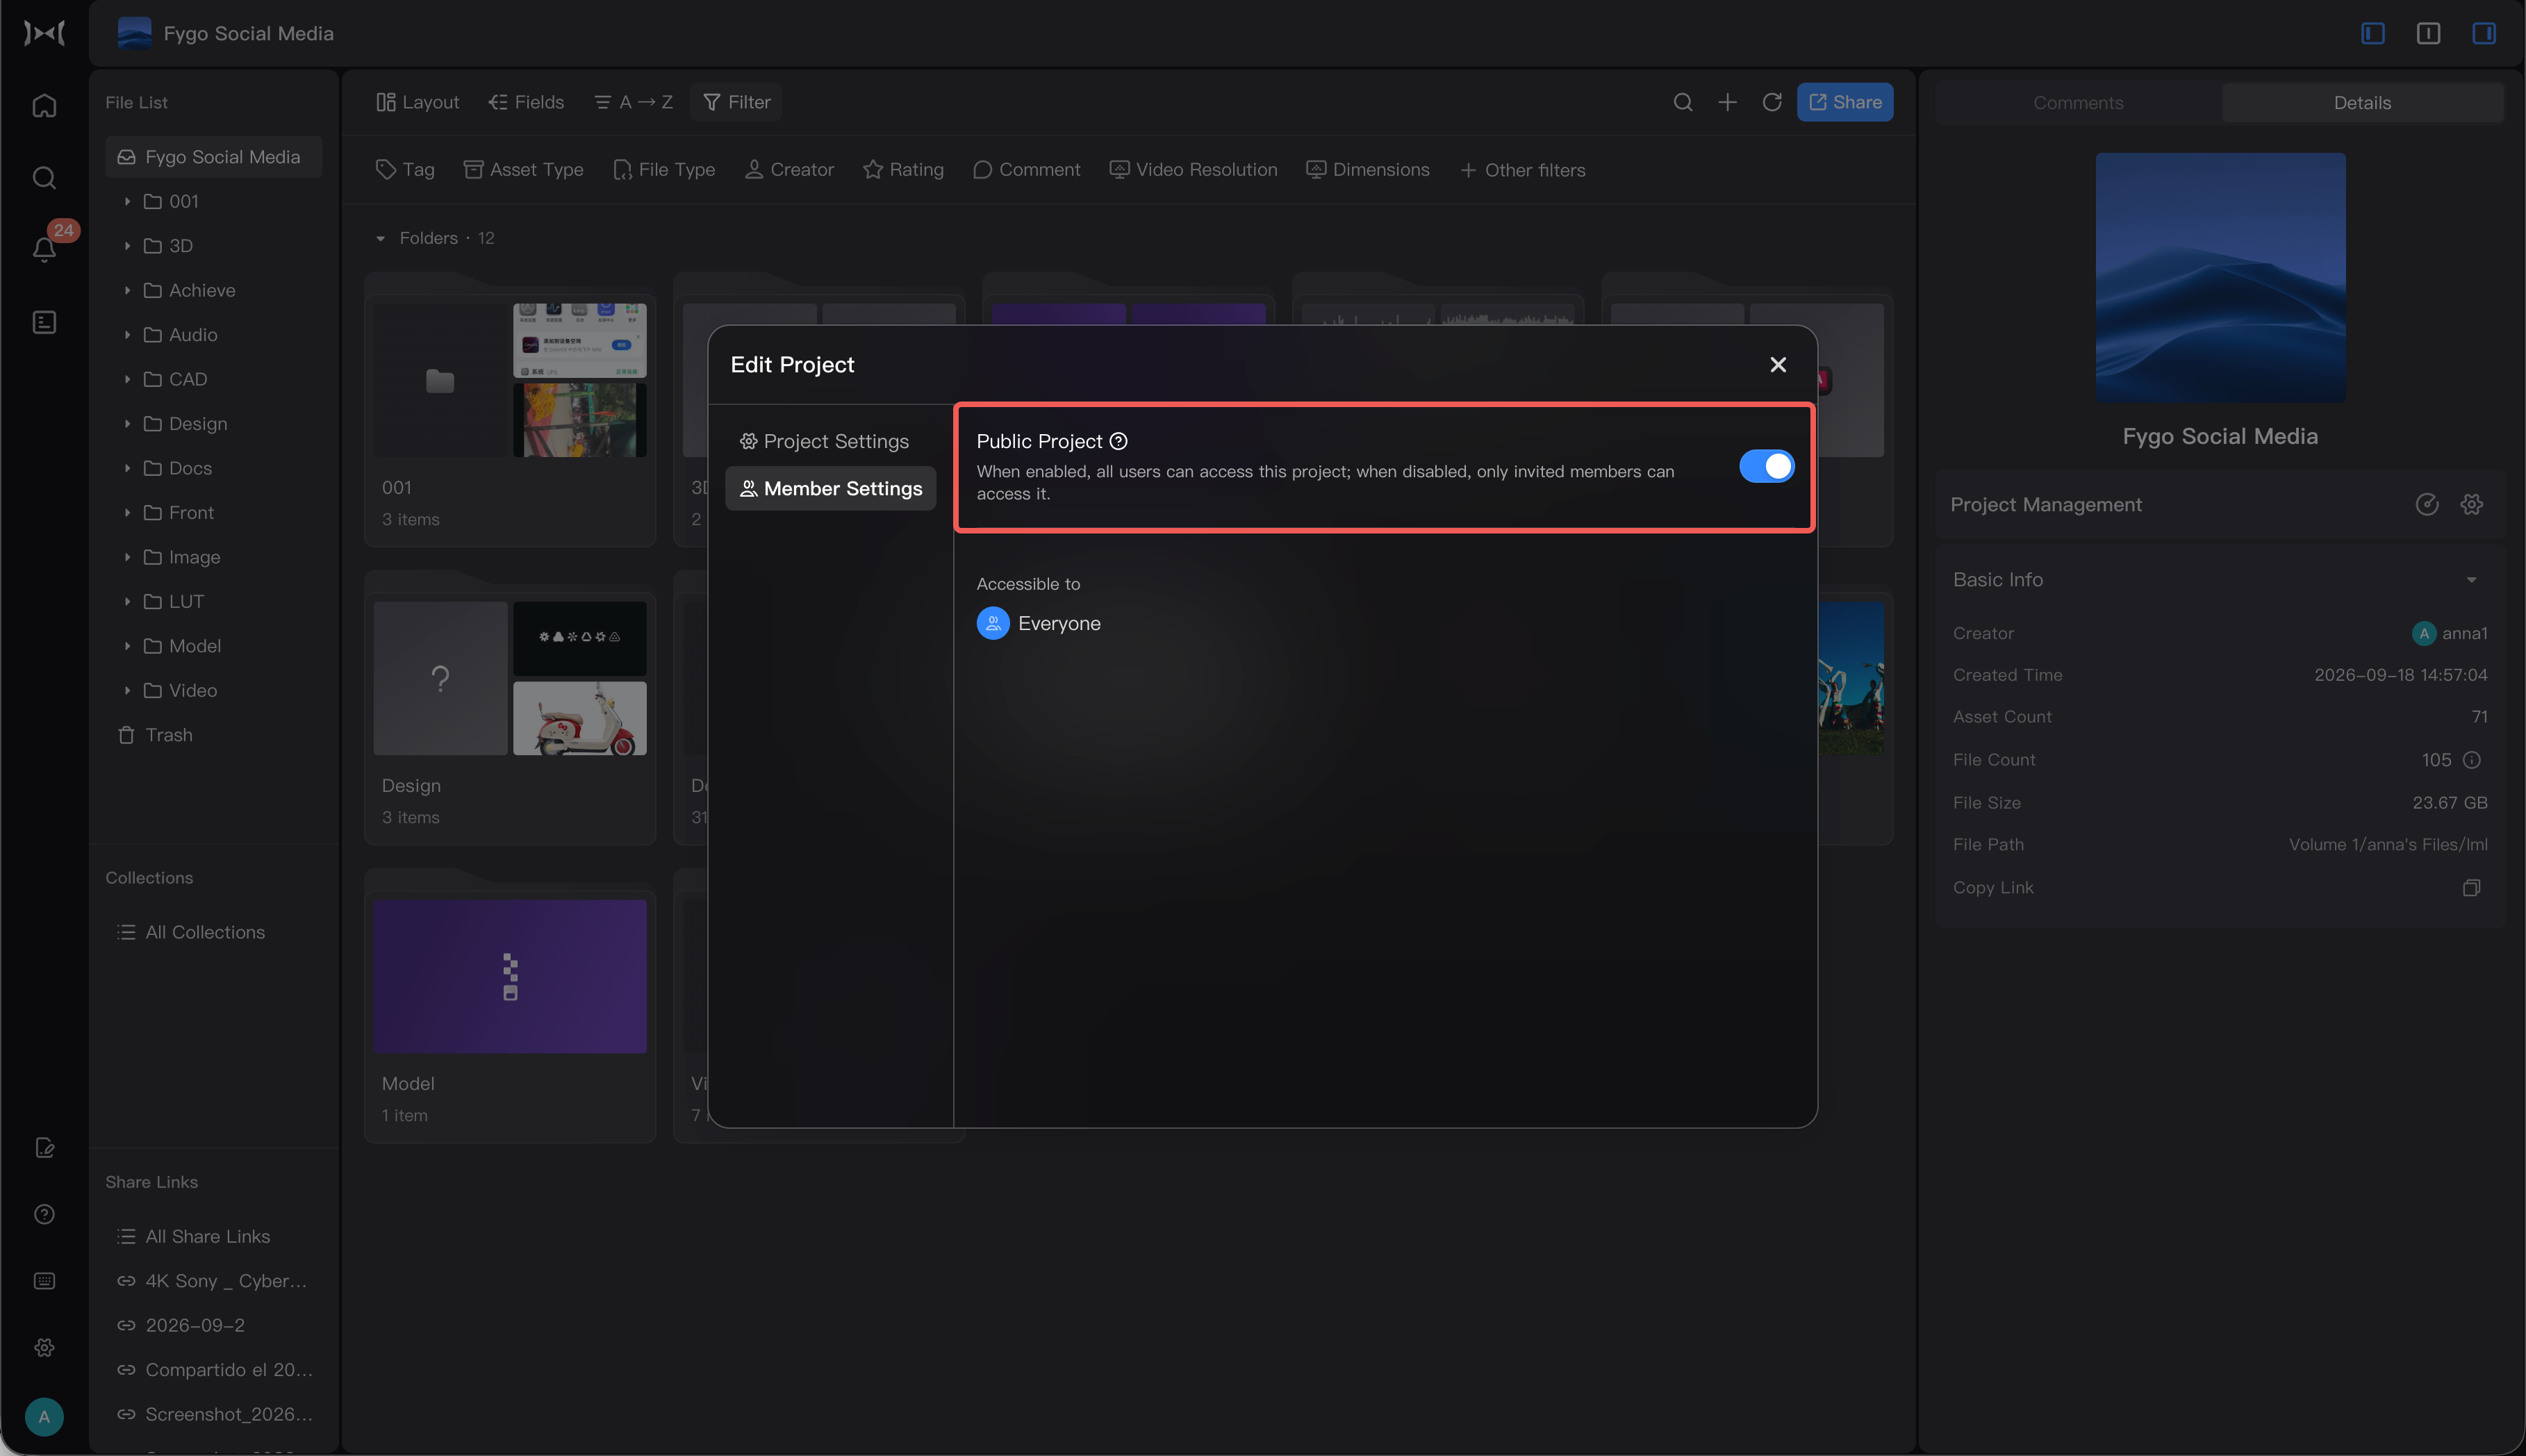
    For an Existing Project

    1. Open the project.
    2. Go to Project Settings → Members.
    3. Set the project to Public and save.

    How to Manage Project Members

    In project settings, you can add or remove Project Members. Admins are automatically listed in every project; you do not need to add them individually.

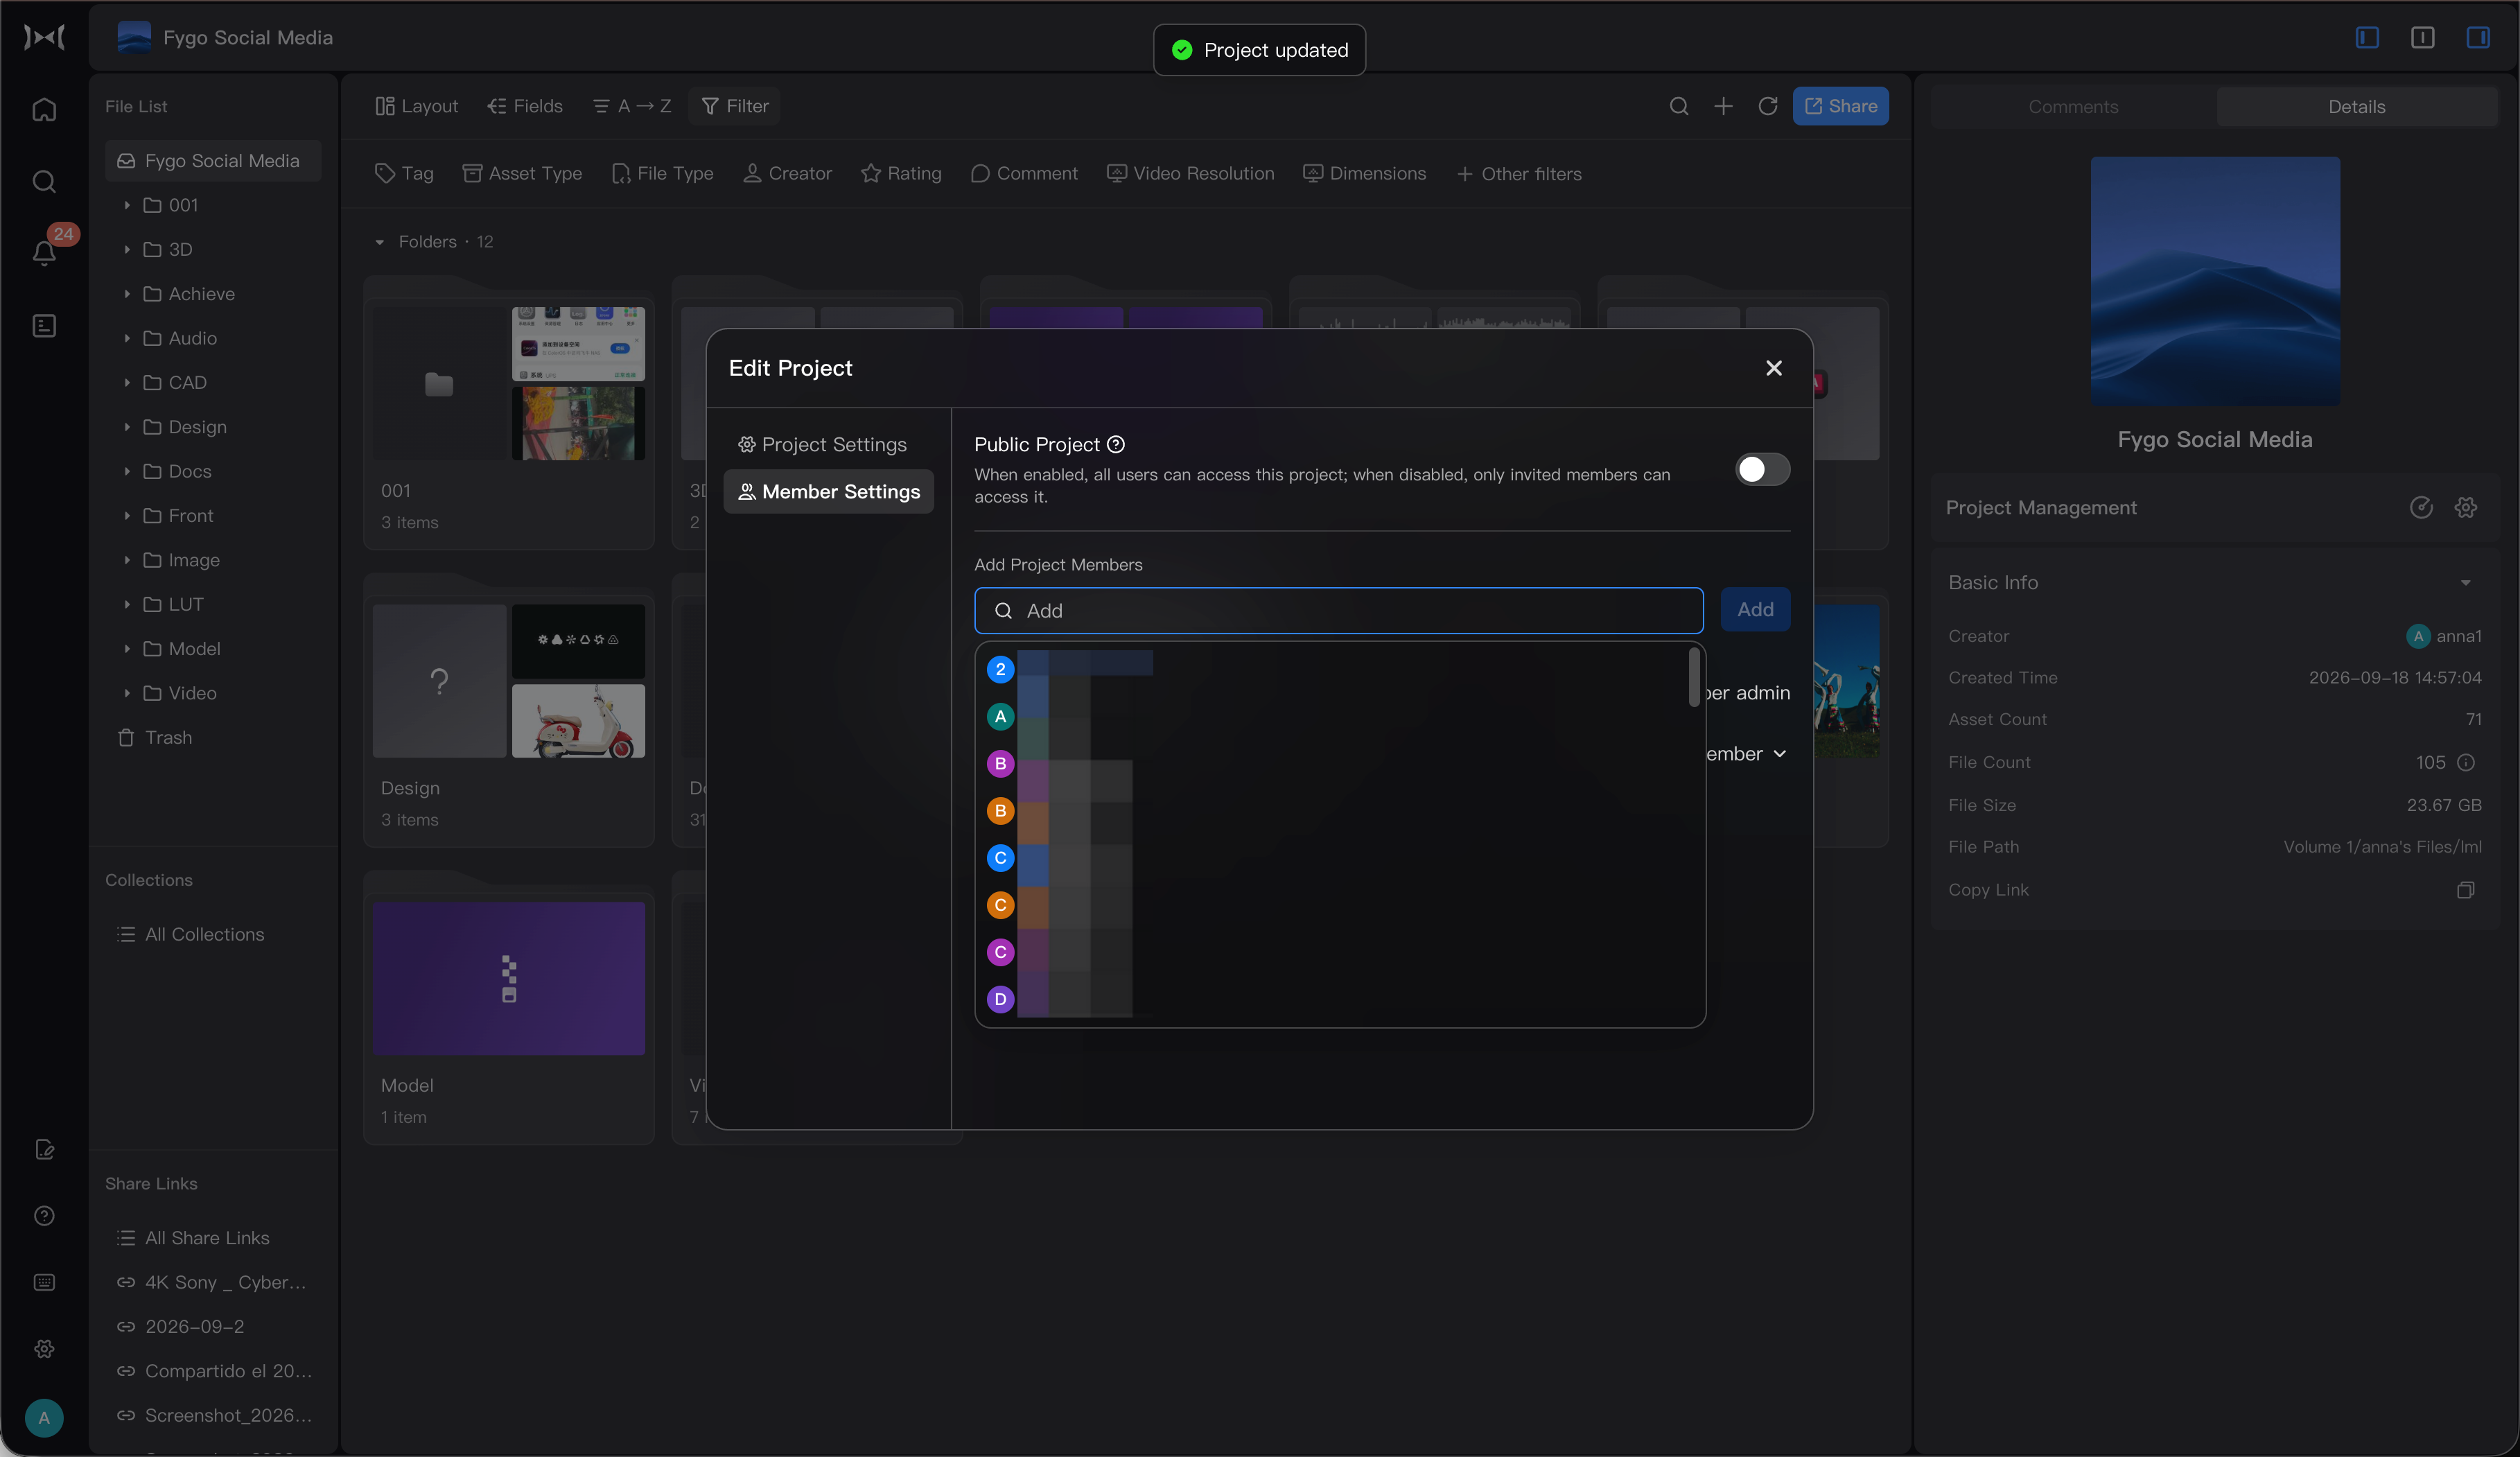
    Add Project Members

    For a restricted project, add each user who needs access:

    1. Open the project and go to Project Settings → Members.
    2. Select Add Member.
    3. Search for and select the user.
    4. Save. The user becomes a Project Member and can now see the project in their list.
    Admins and Project Members

    • Admin: Always present in every project. Can manage projects, edit content, and upload files.
    • Project Member: Added to individual projects. Can work in those projects but cannot manage the projects themselves.

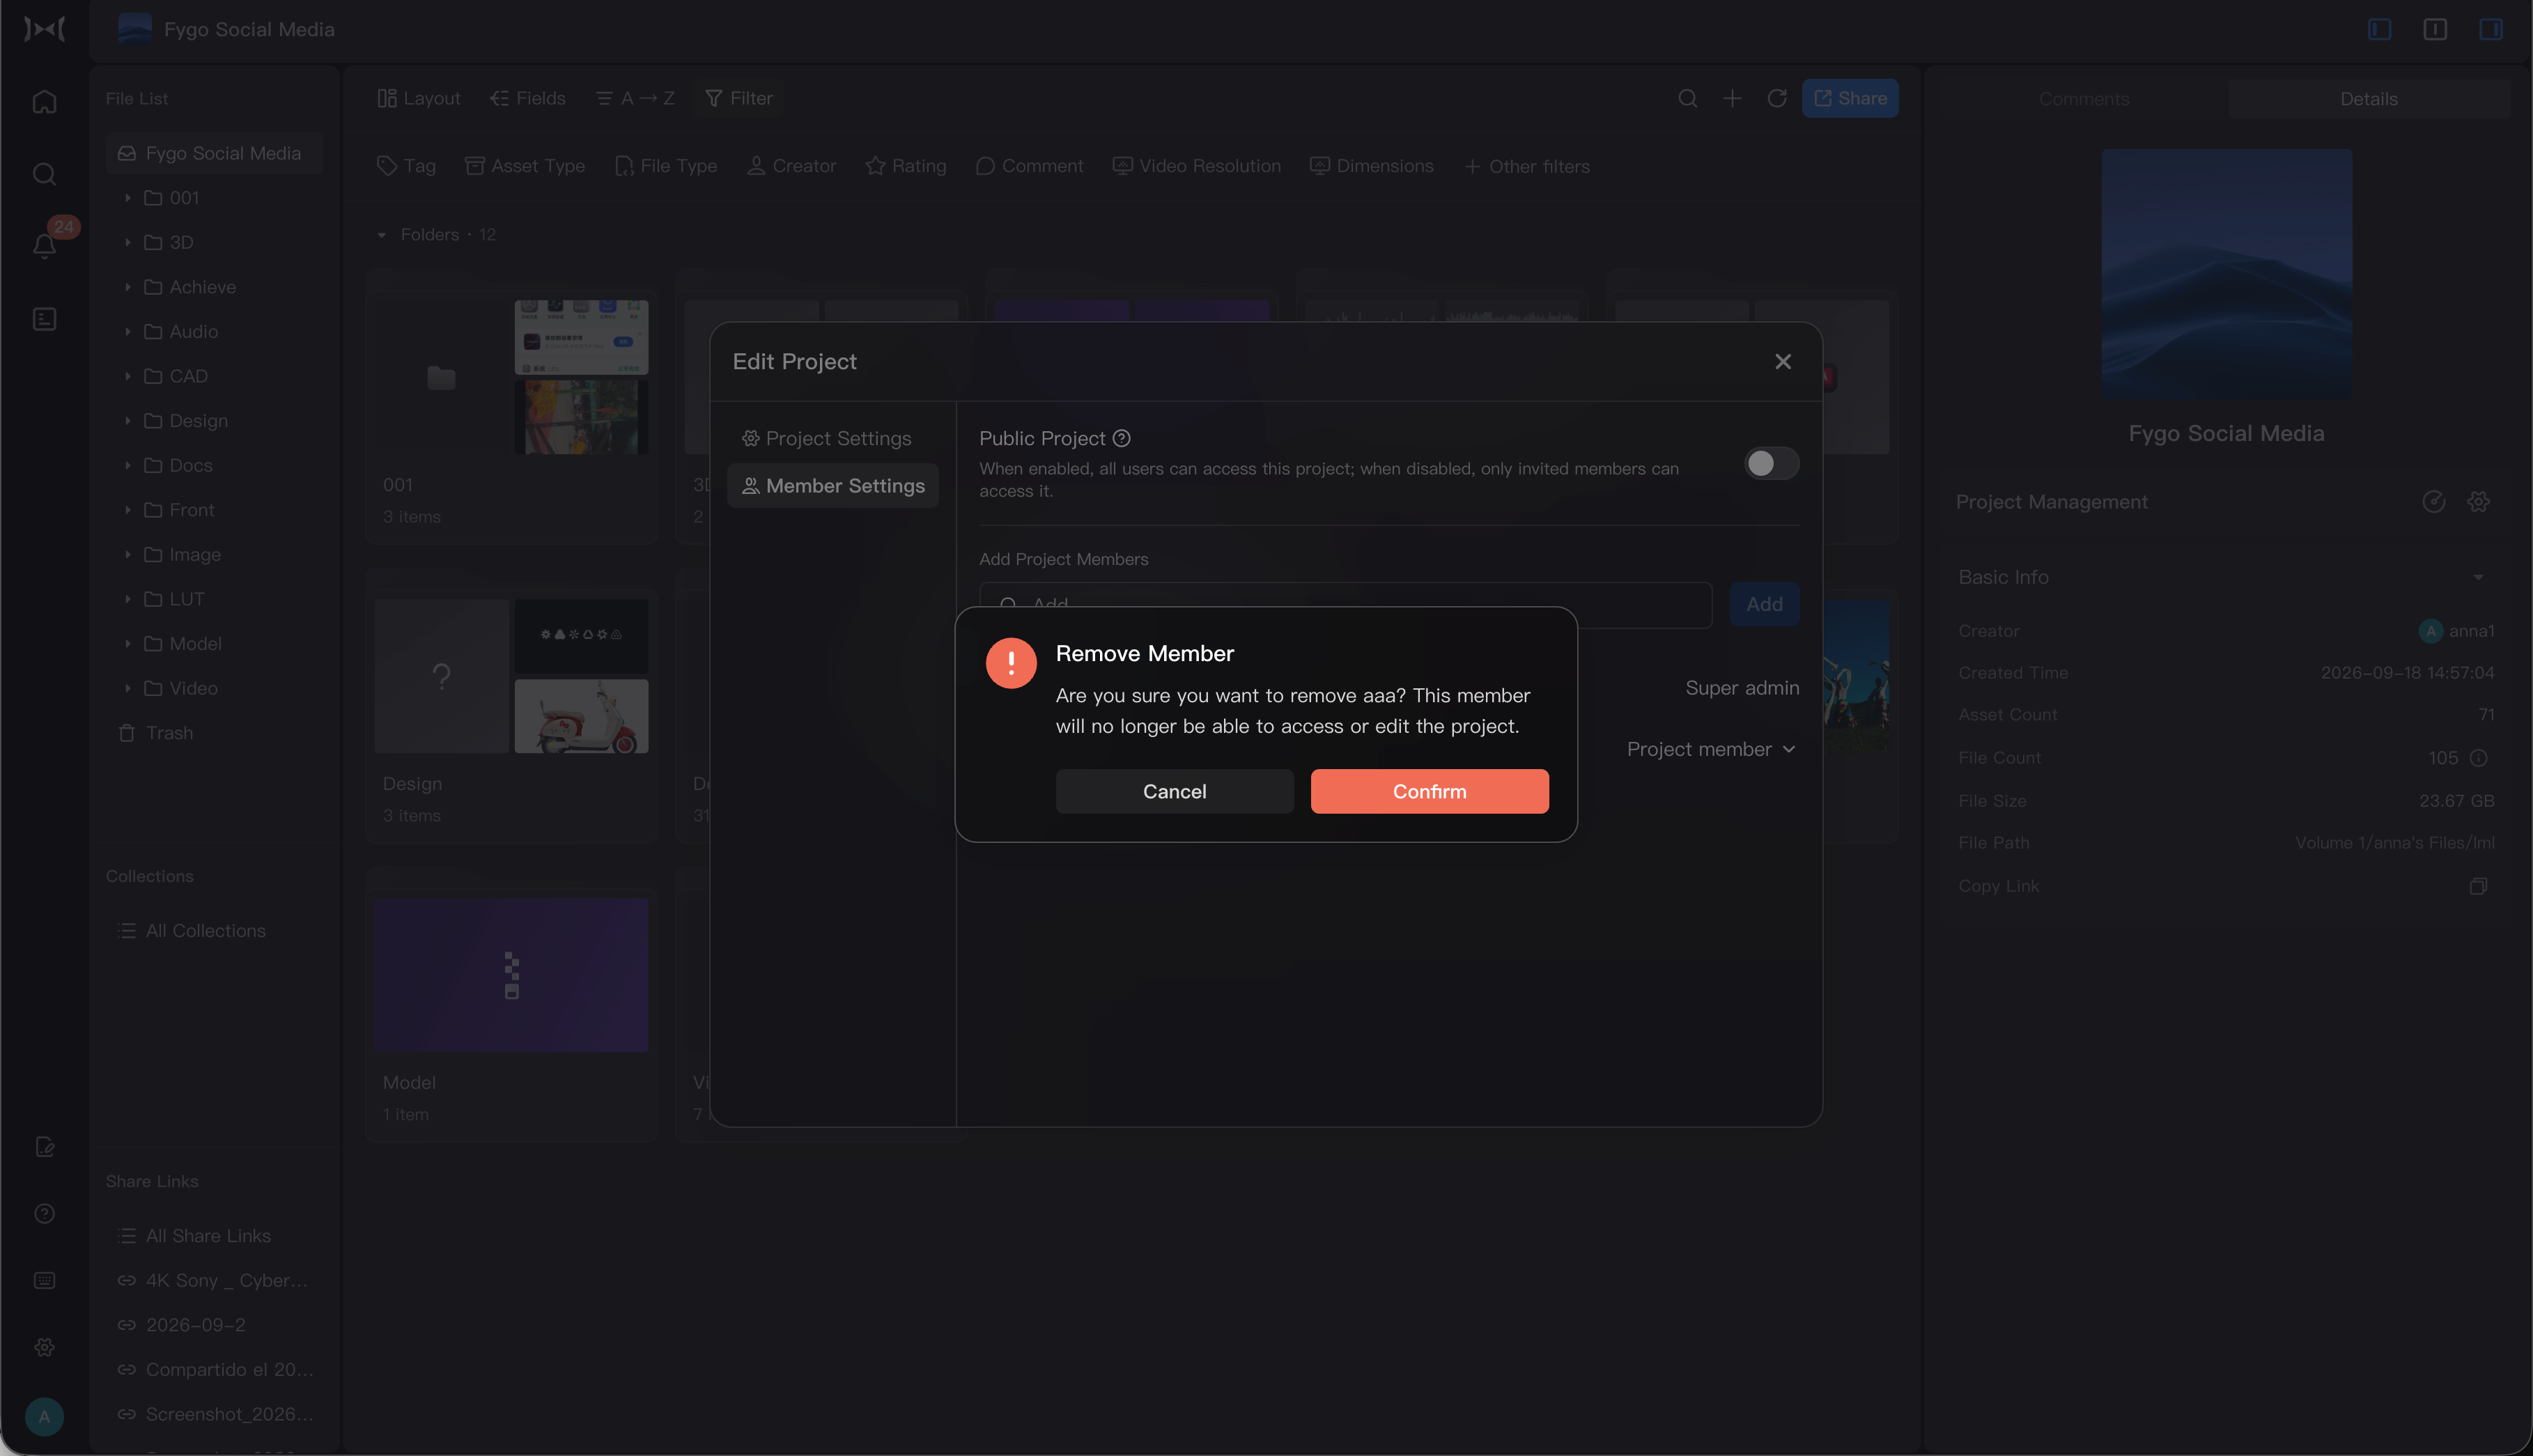
    Remove Project Members

    1. In Project Settings → Members, find the user.
    2. Select Remove Member and confirm.

    Admins cannot be removed from an individual project. A removed member loses access to a restricted project, and it disappears from their project list. Removing a member does not delete project files. If the project is public, the user can still access it as a public project.
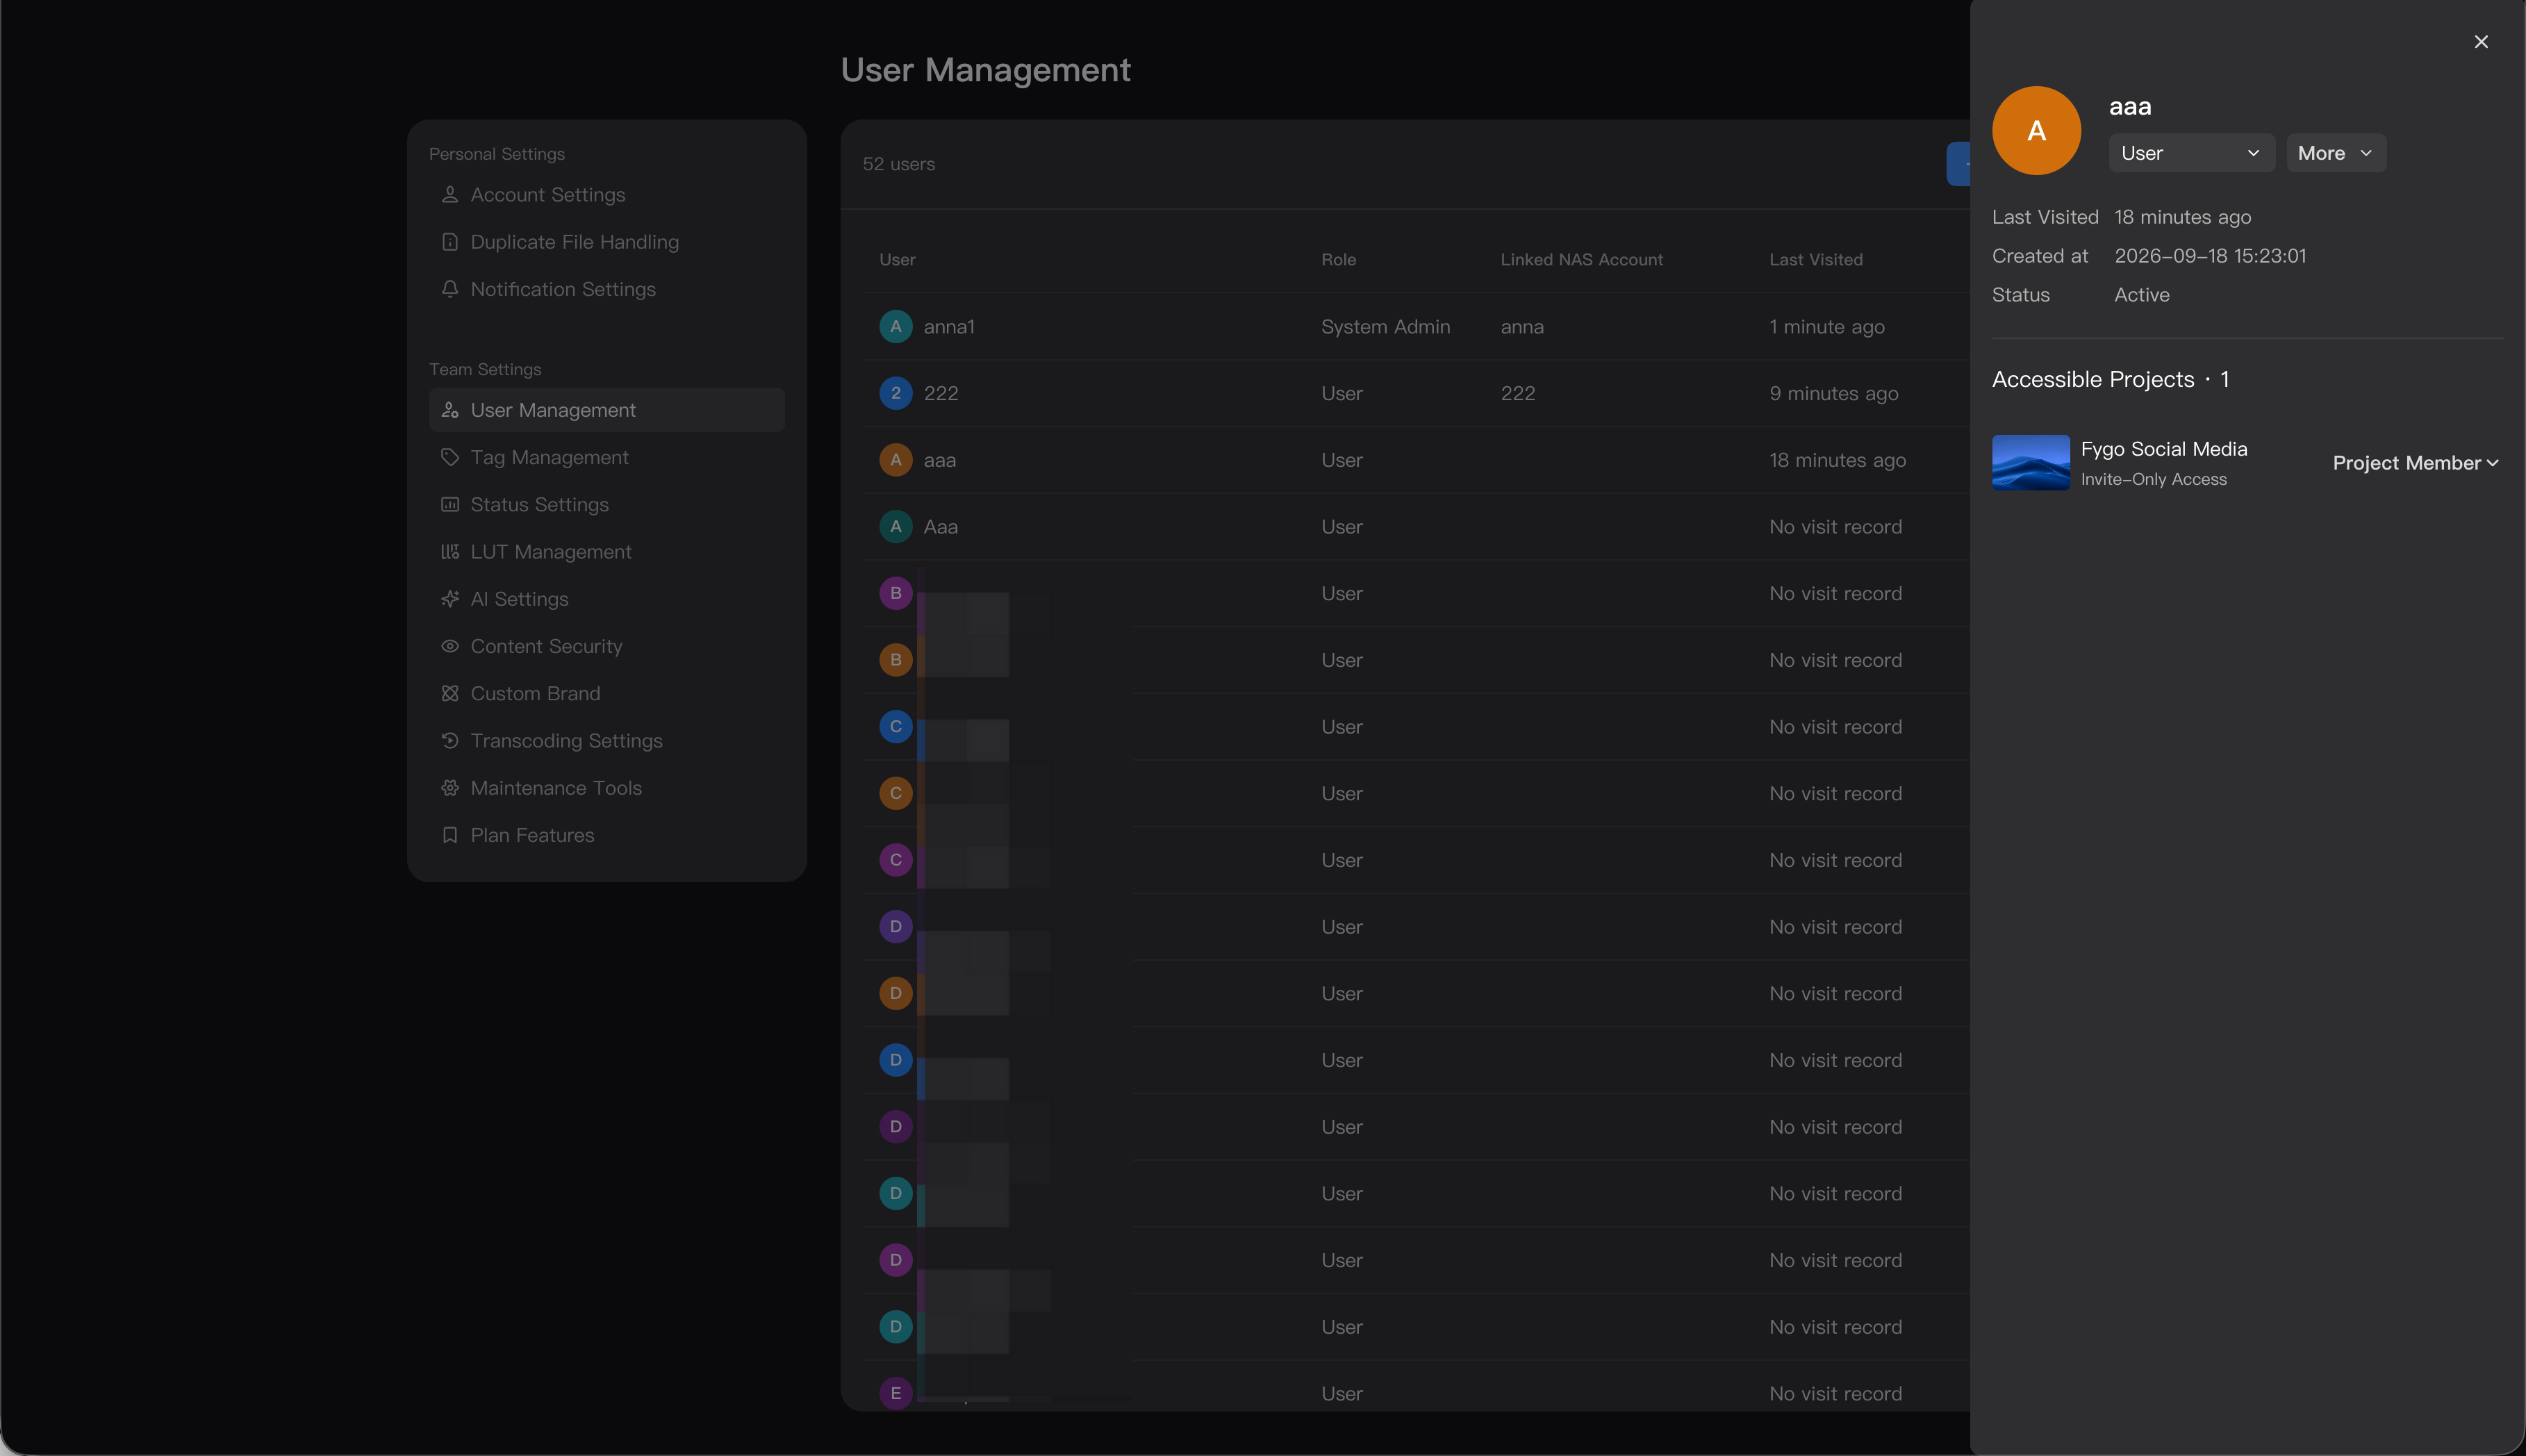
    How to View a User's Projects

    To review a user's access across projects:

    1. Open Seek → User Settings.
    2. Select the user and open their details or permissions.
    3. Review the list of projects they can access.

    Admins have access to every project. Other users can access public projects and projects to which they have been added.
    Was this article helpful?